Required files
- A copy of RM2k (RPG Maker 2000) or RM2k3 (RPG Maker 2003) (Steam version preferably as it has extra features)
- EasyRPG Player (optional, but heavily recommended)
A Blank RM2k project or a Blank RM2k3 project , depending on which version you are using - Aseprite, this tutorial will assume you are using it
Setting up the project
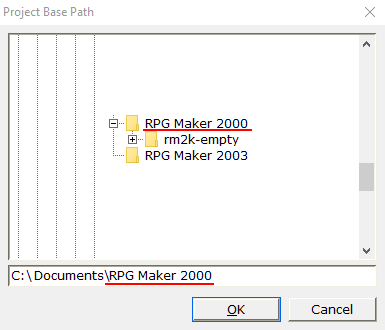
Works exactly the same for RM2k3
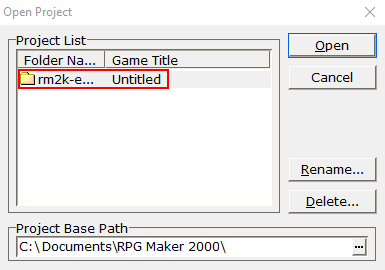
Works exactly the same for RM2k3
Installing and Using EasyRPG
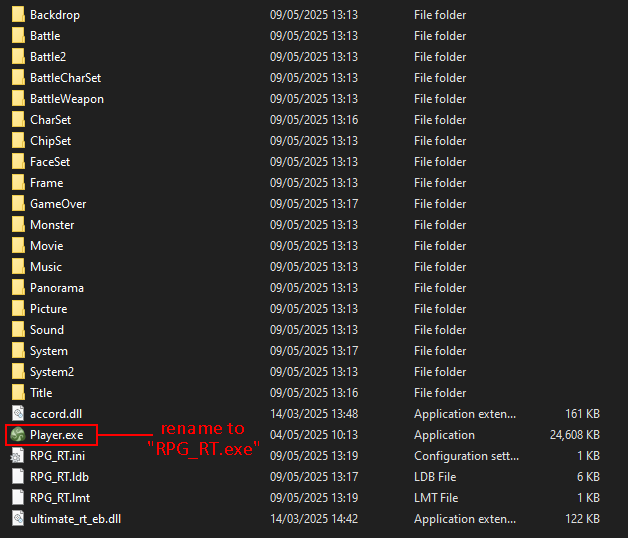
Delete the "RPG_RT.exe" file. Then, copy the "Player.exe" file from your EasyRPG download into your project folder. Finally, rename the "Player.exe" file to "RPG_RT.exe"
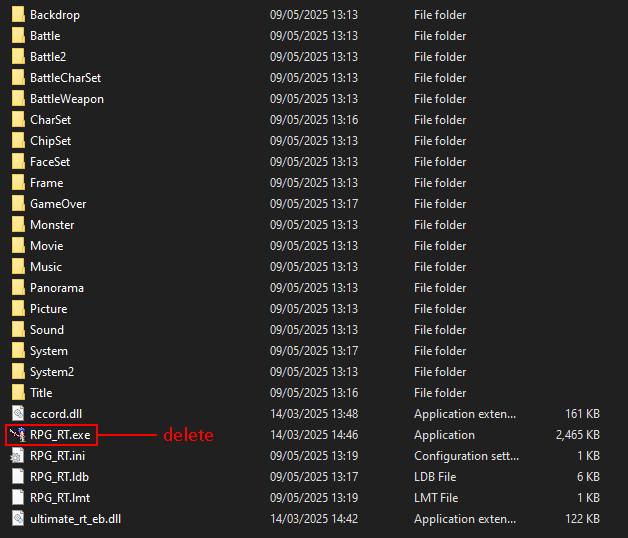
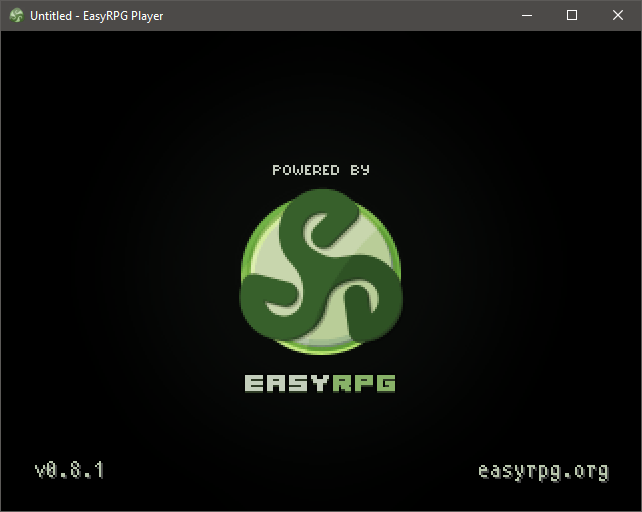
If you open RPG_RT.exe and the EasyRPG logo shows, that means you successfully replaced the file.
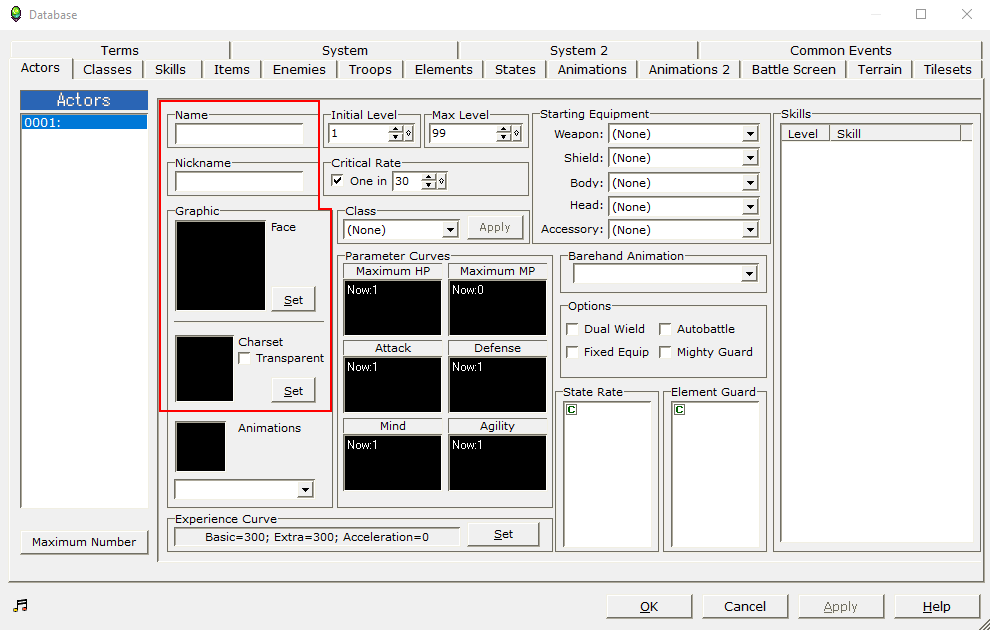
Editing the Database fields
Let's start with the Database, click the icon highlighted below or press the F8 key.

Name: The name that will show up in the menu, set this to your character's name
Nickname: Secondary name, appears next to the character's name, set this to whatever you want
Face graphic: the menu sprite of your character
Charset graphic: the walking sprites of your character